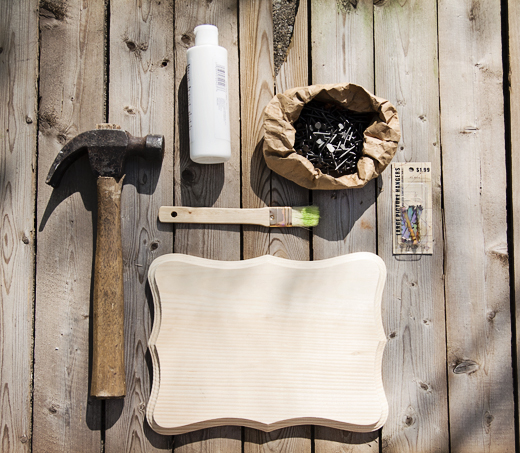
 This has to be one of my favorite projects so far. I love the organized chaos of it! I've been seeing this project all over Pinterest and have been dying to do it myself. Even though I'm posting this in May, I did finish it last week, so it still counts for April ;) Since I'm trying to keep costs down, I used as much as I could of what I already had on hand. I already had the white acrylic paint and paintbrush, Bear already had the nails and hammer. I got the plaque and nail-in hangers at Hobby Lobby for <$5 a couple months ago for something else, but ended up not using either. There were several hangers in the pack, so I got to use one for this project and have a couple left over. I'll probably use one or two for my birch tree painting so that I can actually hang it up and not have it sitting on a shelf. The only thing I needed (not pictured) was the yarn. I got finger weight cotton yarn at Hobby Lobby for <$3. The nails Bear had ended up being a little too big, so I got some 3/4" (18 gauge) nails at Wal Mart for <$2. Altogether, the project cost me less than $10, which is awesome, since finished products like this easily cost $25+. 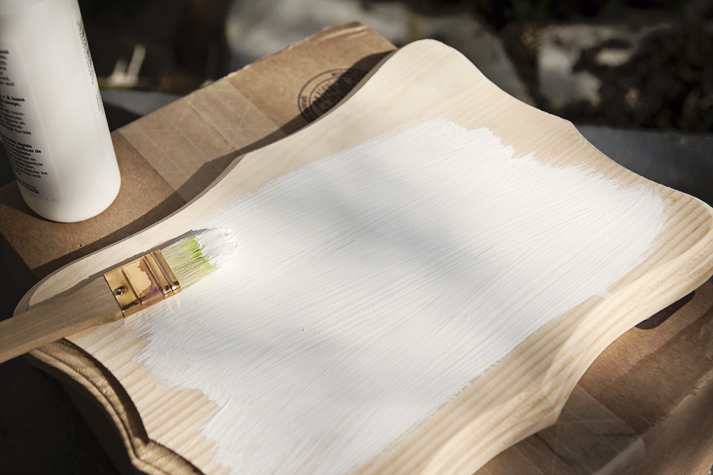 I started by applying a few layers of white acrylic paint, then let it dry overnight. In the meantime, I printed up the silhouette of the bear I used as an inspiration for my logo. The next day, once the paint was dry, I taped the silhouette to the plaque as centered as I could, and nailed around the outline. 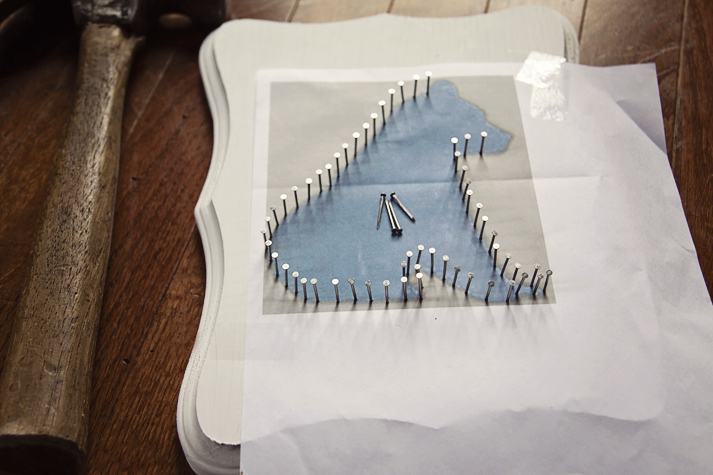 Once I finished nailing, I carefully pulled up the tape and tore off the paper. It was way easier than I thought it would be, and Bean even got to help some! 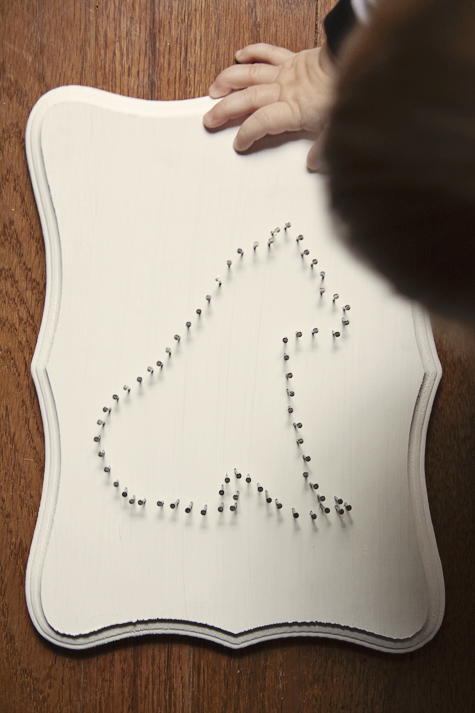 Bear had an excellent suggestion! In order to string the nails easier, I took apart a cheap pen I had, leaving myself with just the shell. I pulled the yarn through from the back out through the tip, knotted the end on a nail, and started stringing! This was by far my favorite part of the project. There was so much freedom in wrapping around random nails and watching the bear appear, with no specific steps to take. I made sure to wrap around each nail at least once, though some got 2-3 times, especially in the smaller places. Then I tied it off with Bear's help (seriously, 4 hands were needed for that part), and Bear hammered the hanger in the back, and it was all done! 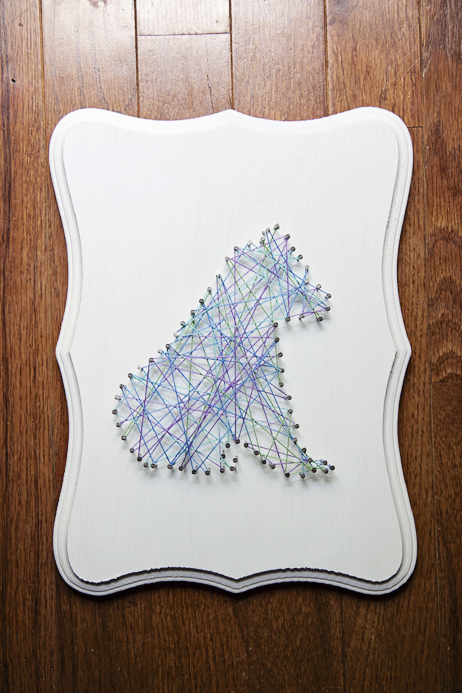 I honestly wouldn't mind having several of these around the house. I already have some ideas for pieces to do as gifts for specific people. (Can't say who or what yet, don't want to ruin it!) What would you do if you did one? Your state? An animal? Specific character?
Did this inspire you? I'd love to see any projects that you have!
0 Comments
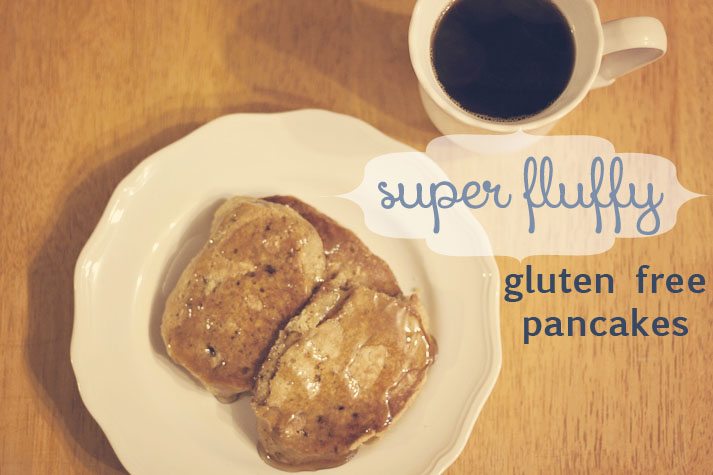 click the picture to pin this recipe! So, Sunday Bear asked for pancakes, which made me very excited. Ridiculously excited. You see, Bear doesn't like pancakes, and I adore them. But it's no fun making pancakes for one person, and even less fun eating them alone. Actually, I think the first thing he asked was if we had syrup, which we did, but the important question was about the pancakes. Without hesitation, I hit up trusty Pinterest. I love pancakes, but I'm picky about them, too. I must have fluffy pancakes. And, of course, they must be gluten free. 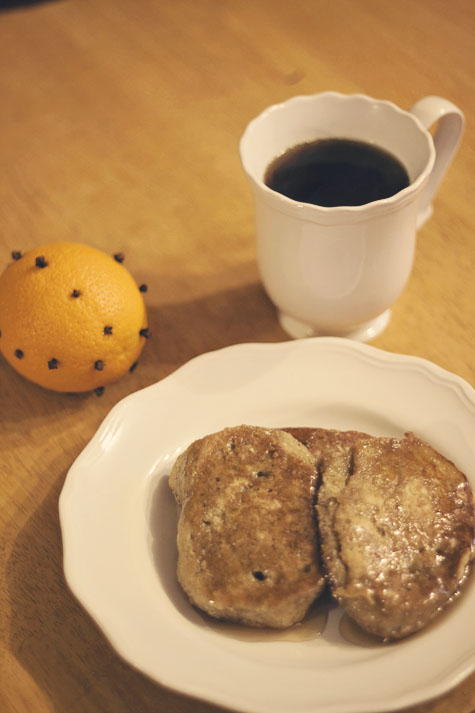 I found this recipe by Honey and Brie. It looked almost perfect, but I did need to switch it up a bit. This is exactly how I made mine: Ingredients: 2 eggs 1/2c almond milk (I used reduced sugar vanilla almond milk) 1tsp vanilla extract 1/2 tsp baking soda 3tbs sugar 1/2c + 1tbs oat flour (make sure to measure the oat flour, not the oats. I used rolled oats pulsed in the blender until I was happy with the texture) 2 tbs coconut flour Coconut oil for frying Mix all dry ingredients in a medium bowl. In a separate bowl, whisk together eggs, milk, and vanilla. Make a well in the middle of the dry ingredients, and pour in the wet ingredients. Mix gently only until fully incorporated. Let the batter sit 2-3 minutes while griddle or frying pan warms over medium heat. Melt coconut oil in the pan, then drop batter into pan by 1/4 cup. Flip when the edges are dry and stop bubbling, allow to cook another 2-3 minutes, until browned. Serve immediately with your favorite topping. 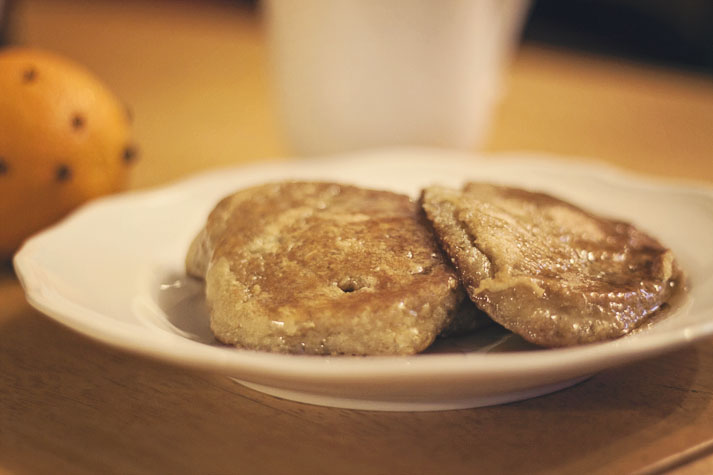 The key to fluffy pancakes is being gentle with them. Over mixing or over flipping will make them go flat. We had ours with maple syrup and sausage, but I think caramelized bananas would be HEAVEN on these babies! The coconut isn't overwhelming, but does give a great subtle undertone that would totally be complemented by the bananas. Oh man. Excuse me, I’ll be in the kitchen… 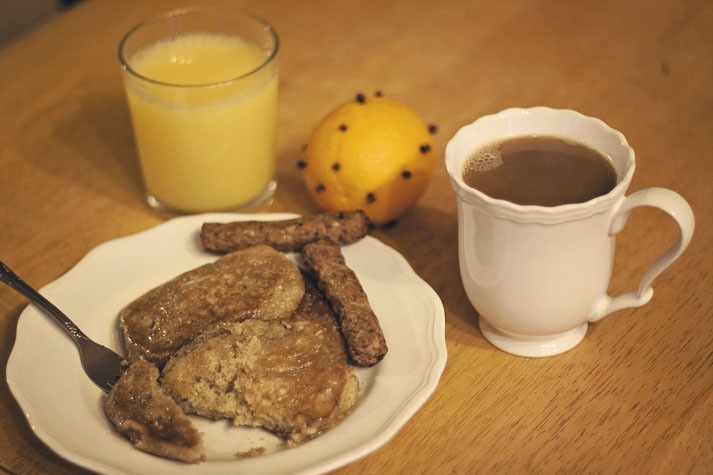 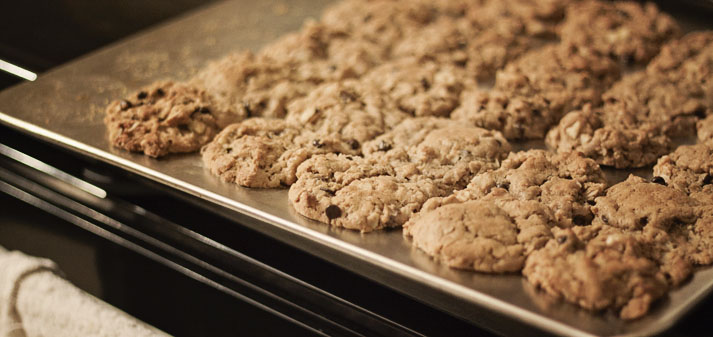
These cookies... where do I start?! Yes, the entire first row is gone... straight out of the oven. They're that good. I promise. I first discovered this recipe a few months ago, after I had seen something about flourless peanut butter cookies on Facebook. I was hoping to find something with just a little more than the traditional flourless peanut butter cookie, which generally consists of peanut butter, eggs, and sugar. I found this recipe on Ambitious Kitchen, which ended up being my inspiration! 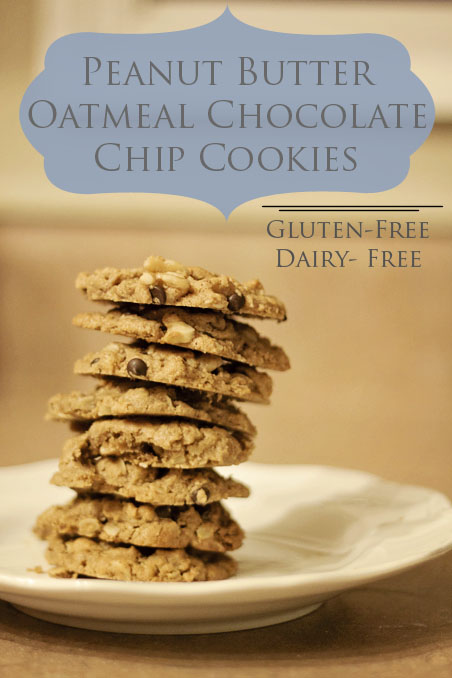
My goal with these cookies was to have something that I could grab and eat with one hand, without any sort of heating or prepping beyond the initial baking. It also needed to be something lower in sugar and higher in protein, so that I wouldn't have a sugar crash shortly after eating. Additionally, I was looking for something flourless, since gluten-free flours tend to be expensive, and most have a gritty texture that I'm still trying to get used to after nearly 2 years. These cookies taste and feel like cookies should taste and feel! Thankfully, they aren't overly sweet so no tummy ache if I eat 4 (or 5... or 10...). But they are sweet enough to satisfy any sweet-tooth, including Bear's! 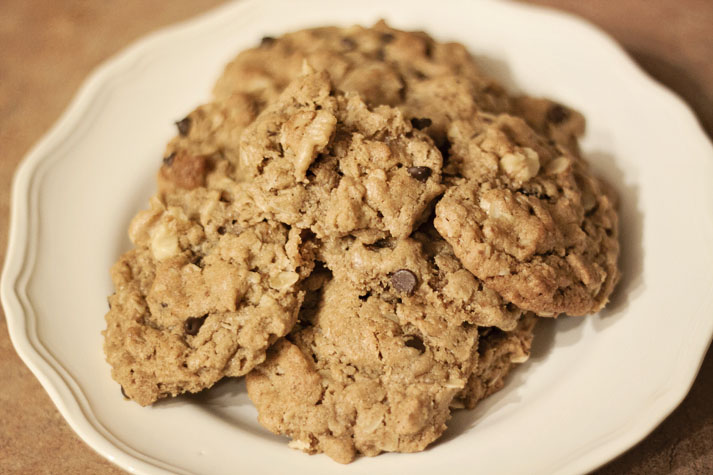
Here are the changes I made to the recipe:
I hope you enjoy these cookies as much as I do! Make sure you get a BIG jar of peanut butter, though, because these won't last long and you'll definitely be wanting to make more! 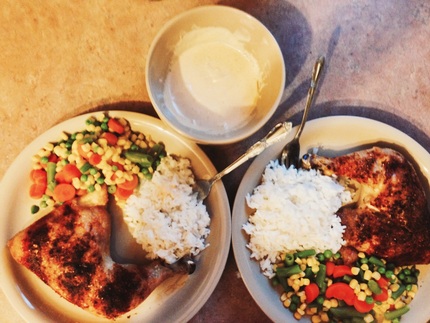
The first recipe off of my Pinterest board up for review is Chicken Paprika with Sour Cream Gravy off of I Breathe... I'm Hungry... blog. This was a really easy recipe for me, since you throw the chicken in a pan, sprinkle some spices on, and pop it in the oven. The sides were white rice (also easy), and steam-in-the-bag frozen veggies (even easier). I like this recipe mostly for it's ease. You would think that being a stay-at-home-mom of a baby would give me most of the day to be in the kitchen, right? WRONG. Haha! I love that it was simple to throw together a full meal, and with very little clean-up involved. I baked the chicken in a foil-lined pan, so there's nothing to actually clean in the pan. I'll just wipe it out with a soapy cloth and we're golden. 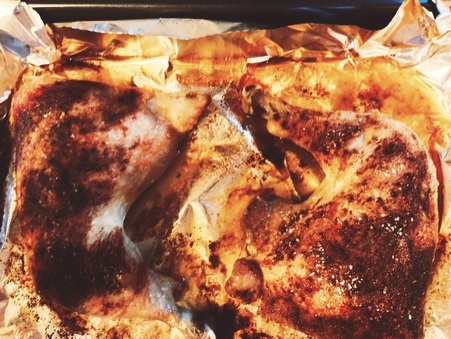
The I made two slight changes to the recipe. 1) I used two chicken quarters instead of four thighs, and 2) I added garlic powder because, let's face it, everything is better with more garlic. Seriously, I don't think my family will ever have to worry about vampires with how much garlic we consume. Yum. Bear gave it 8/10 stars. He says it would have been a full 10, if it hadn't been for the bones. The chicken was tender and juicy, and the gravy/sauce was a nice addition, especially to the rice. Bear says it's a keeper, though next time I will be making it with boneless, skinless chicken breast in place of the thighs, since that's what we usually eat and both enjoy. I will post an update when we try it that way. :) P.S. Sorry for the crappy iPhone pictures. Here's one of Bear's finger photobomb. (Literally, he yelled, "Photobomb!" as he put his finger in front of my phone. Meanie.) 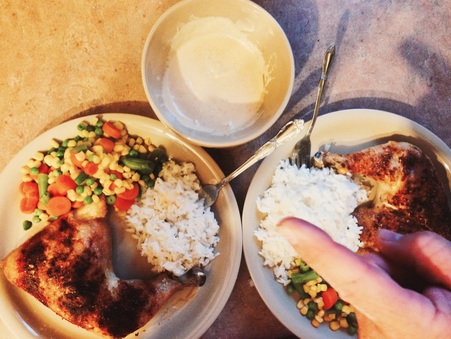
Well, lovelies, I finally got around to cleaning up my Pinterest boards! I've had Pinterest for years longer than I've been gluten-free, so it took me a little bit of organizing to make these share-ready. I have three food boards now. Bear is on a low-carb diet currently to lose HIS baby weight (hehe), so I made a dinner board for him. Here's my normal dinner board, for when we're feeling a little fancy (read: not worried about carbs). These are pretty easy dinners. Be aware - not all of them are gluten-free as they are, but they can be easily altered to be gluten-free. And here's my this-looks-good-and-I-need-to-try-it-and-yeah-I-know-it's-mostly-desserts board. You're welcome. So here's my plan:
I want to try out as many of these as possible, and tell YOU how they turn out. I'm going to try for 1 recipe a week. Then I will write a post about it with any changes I made, difficulty level, and family feedback. Of course, I'll include pictures ;) My goal is to show that being gluten-free doesn't have to be hard, or bland, or even expensive. Also, If you try out any of these recipes, I'd love to hear your feedback! And if you have a favorite recipe, please share! Let's make this journey together <3 |
Categories
All
AuthorMama Bear of one Baby Bear, Bean, who both love Papa Bear, and live in a crafty, gluten-free cozy den. Archives
June 2017
|
 RSS Feed
