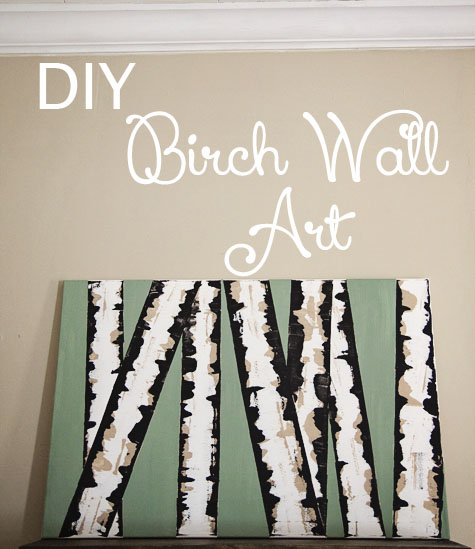
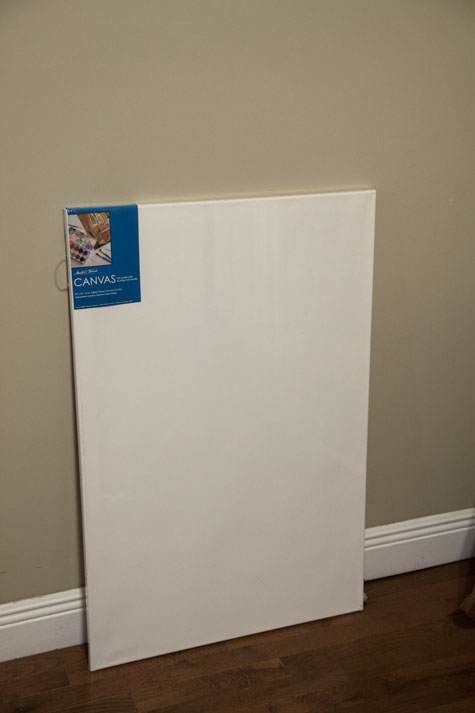
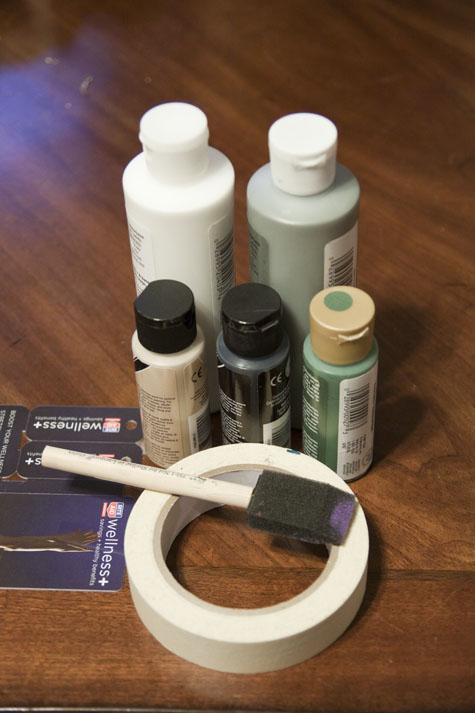
So, yeah, I realize that this is the second month in a row that I've completed my decor/blog post for the month on the last day. In my defense, I totally had another one planned for this month that had to get put on the back burner thanks to the massive dumping of snow that we got a few weeks ago. We still have several inches of ice covering a portion of our carport. Ew. Anyway, after being cooped up in the house for almost 2 weeks, we got to escape to Hobby Lobby and I got my craft on! Knowing I needed something simple and quick, I hit up Pinterest for "DIY Wall Art". I found this birch wall art tutorial. I looked over it a few times and decided that it would either turn out awesome or terrible (no in betweens with this one), but it's been forever since I've had the chance to paint, so why not? I picked up my supplies yesterday (yeah, I know, procrastinator extraordinaire), and got to work as soon as I got home. I already had most of the paint, as well as masking tape. I got the canvas for 40% off thanks to my Hobby Lobby app (originally $19.99, paid $11.99), so all in all, this cost me less than $15 out of pocket!
I started by putting tape on randomly across the canvas. Since I have wider areas of the walls that I want to cover, I decided to go horizontal rather than vertical. 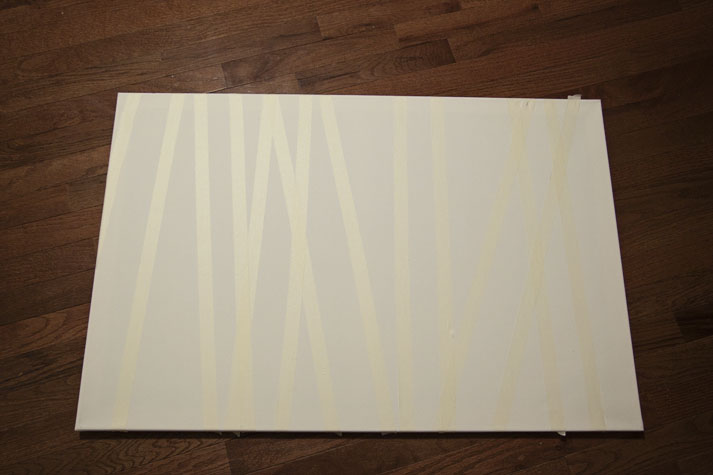
I like the blue that was used in the original, but in my imagination, if I'm going to be in a birch forest in springtime, it's going to be green. I had nearly the tint of green that I wanted, but not the shade, so I got mixing. 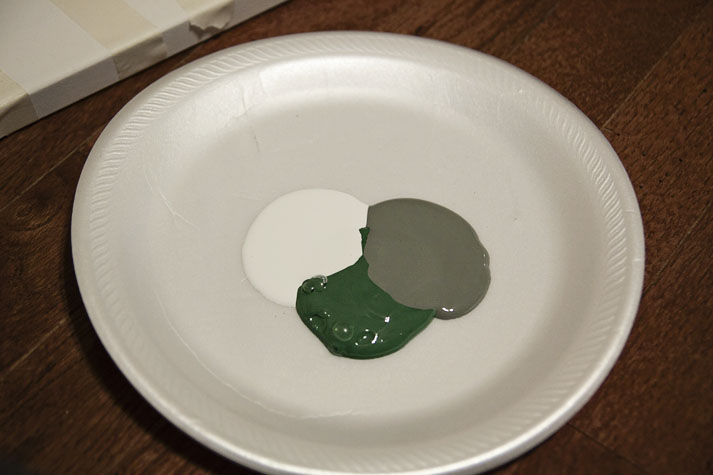
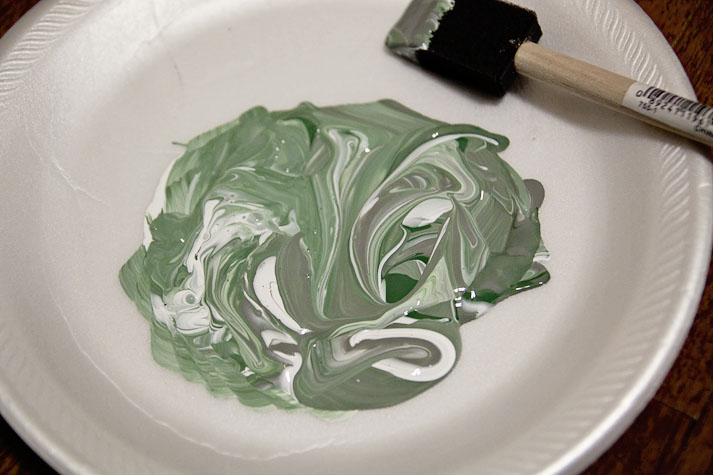
I love the swirls ^_^ They remind me of oil paintings I made in elementary school. Then I filled in all of the negative space between what would soon be my branches. It took me a couple of coats, and I let it dry for 5-10 minutes between each coat. Then I let it dry overnight. 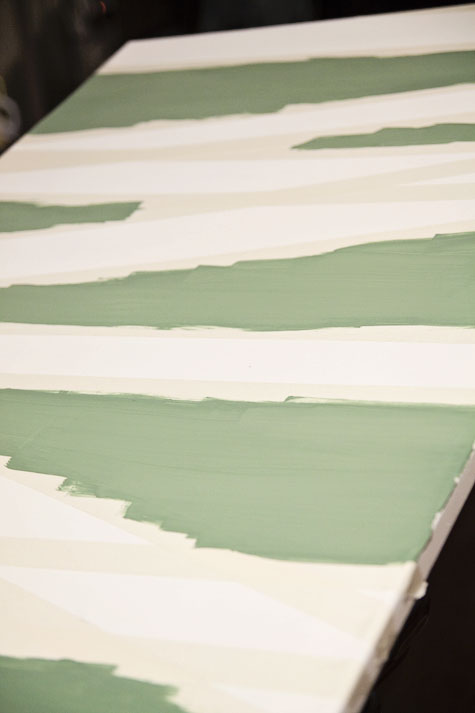
The next part was tricky for me. For some reason, I couldn't figure out which tape strips to remove first. If I did it over again, I would just use thicker tape. But I used what I had on hand, and I eventually figured it out (though thinking about it still makes my brain hurt). Once I got the first set of "trees" untaped, I started with a layer of beige paint using the card trick. I had a feeling that it would give the trees more depth, reality, and character. 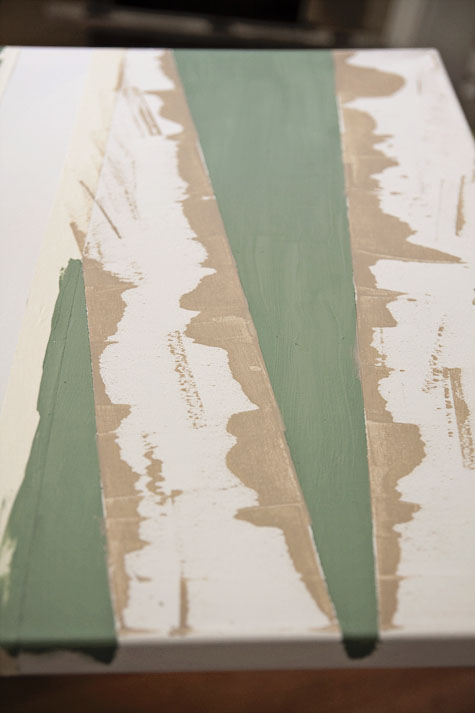
Once the beige was sufficiently dry, I added the black paint on top. 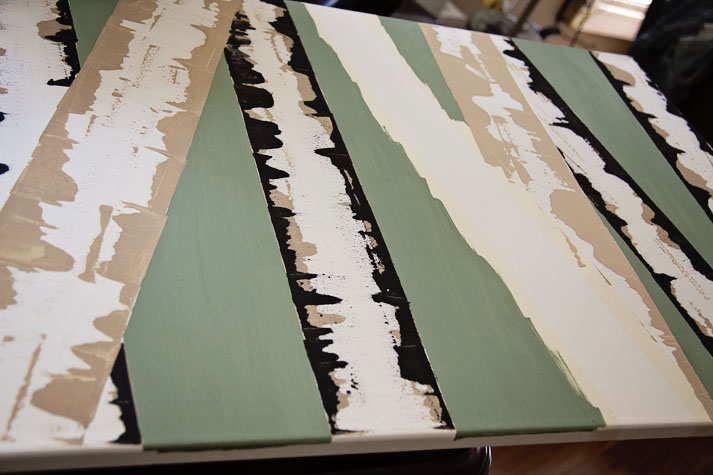
I continued until I had filled all of the tree spaces, letting it dry for 30 minutes or so before starting the next "layer" of trees. And here is the finished product! I actually really like how it turned out. Unfortunately, in my last-minuteness, I forgot to get something to hang it with, so for now it's sitting on a shelf behind the couch -_- But that will be taken care of shortly! It's the perfect size for the wall space I wanted filled. Additionally, it was inexpensive, used stuff I already had on hand, was relatively easy, and made minimal mess. Personally, I'm calling this one a win! What do you think? Pinterest win or fail? 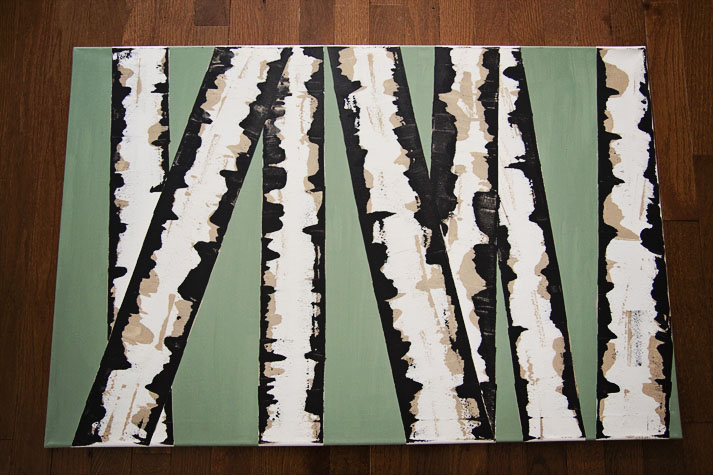
2 Comments
Rachael Amstutz
2/28/2015 05:33:38 am
I LOVE it. It's beautiful! Definitely wouldn't be able to tell it was a DIY project.
Holli
2/28/2015 05:57:33 am
Win! :) Leave a Reply. |
Categories
All
AuthorMama Bear of one Baby Bear, Bean, who both love Papa Bear, and live in a crafty, gluten-free cozy den. Archives
June 2017
|
 RSS Feed
